
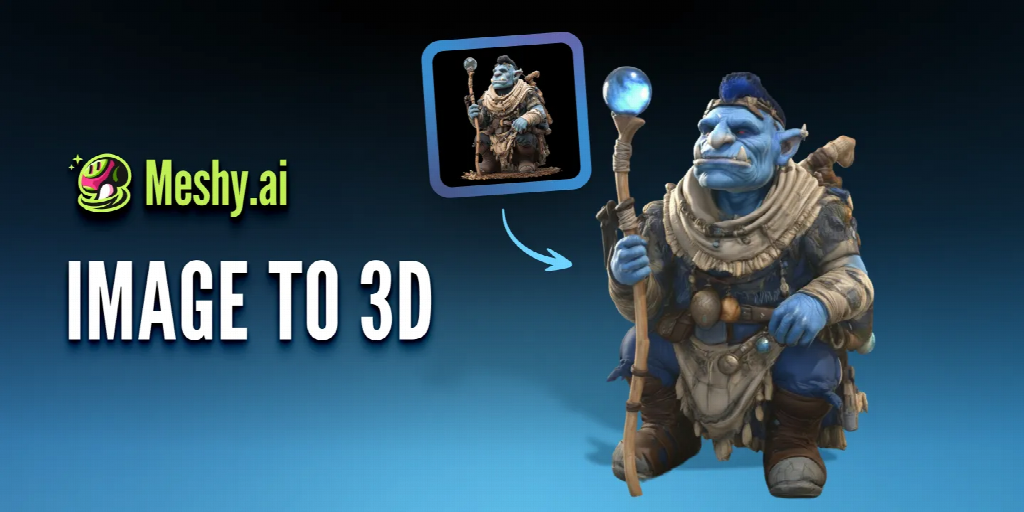
Generate the base model from concept art, inspect and simplify the mesh, optimise textures and materials, create LODs and collision, then profile the asset in a representative scene on real Android devices.
Mobile game developers often need to create many characters, props, buildings, and environmental objects while working within strict production schedules. AI-generated 3D models can make early asset creation faster, particularly when a team already has clear concept art. However, generating a recognisable model is only the beginning.
An asset that looks convincing in a browser preview may still be too detailed, use oversized textures, contain unsuitable topology, or create unnecessary rendering costs on an Android device. The practical workflow is therefore not simply “image in, game asset out.” It is a process of generating a useful starting point, reviewing it, optimising it, and testing it inside the actual game.
What Makes a 3D Asset Ready for an Android Game?
Android games run across a wide range of hardware. A model that performs smoothly on a development workstation or premium phone may behave very differently on an older or lower-cost device.
Mobile hardware has more limited processing power, graphics capability, memory, and thermal capacity than a typical desktop computer. These constraints affect how many polygons, materials, textures, lights, and animated characters can appear on screen at the same time.
The correct asset budget also depends on the game. A close-up character in a fighting game needs different treatment from a small background prop in a strategy title. There is no single polygon count or texture resolution that works for every Android project.
Before generating assets, developers should define:
- The minimum device specification
- The expected camera distance
- The number of similar objects visible at once
- Whether the object will be animated
- The maximum texture size
- The game’s target frame rate
- The intended visual style
These decisions provide a practical standard against which every generated model can be evaluated.
Use image-to-3D for Exploration, Not Final Approval
Image-to-3D workflows are especially useful during pre-production and prototyping. A team can explore the proportions of a prop, compare several silhouettes, or build a temporary environment before committing time to a finished asset.
Platforms such as Meshy can help creators turn text or visual references into initial 3D models. This makes it possible to test an idea in three dimensions earlier in the design process.
For example, a developer planning a stylised adventure game might need several versions of a treasure chest. Instead of fully modelling each idea before seeing it in the game, the developer can generate alternatives, place them in a test scene, and evaluate their size and visual language alongside the environment.
This is most valuable when the generated object is treated as a draft. The team still needs to decide whether its proportions, construction, topology, and materials meet the project’s requirements.
Start With Clear Concept Art
The quality of the reference image affects the usefulness of the initial model. A visually attractive illustration is not always an effective 3D reference.
Images with heavy perspective distortion, hidden surfaces, dramatic lighting, or complex backgrounds can leave important details open to interpretation. If the model must closely follow an established design, use reference material that communicates its structure clearly.
A useful reference image should ideally include:
- A clean and readable silhouette
- Limited background clutter
- Consistent lighting
- Visible separation between major components
- Enough contrast to distinguish materials
- A neutral or understandable camera angle
For important characters or mechanically complex props, multiple views remain valuable. A single front-facing image cannot fully explain the back, sides, thickness, or internal construction of an object. Any unseen areas generated from one image should be treated as proposals that require review.
Generate the Base Model and Inspect Its Shape
An image-to-3D workflow can provide a base model from existing concept art, but the first review should focus on form rather than surface detail.
Rotate the model and inspect it from every direction. Check whether the main silhouette still works from the game’s normal camera position. Look for distorted proportions, fused components, unexpected holes, uneven symmetry, and details that only make sense from the original image angle.
The model should also be checked at its intended scale. A decorative element that looks important in a close-up preview may disappear completely when the object occupies only a small area of a phone screen. Conversely, fine geometric detail may remain expensive to render even when the player cannot see it.
At this point, developers can decide whether to revise the reference, regenerate the model, or continue with manual editing. Regeneration is useful when the entire shape is wrong. Manual editing is often more efficient when the core form is successful and only a few areas need correction.
Reduce Geometry According to Screen Importance
Polygon reduction should be based on how the object functions in the game, not on how impressive it looks in isolation.
Start by protecting the silhouette. Edges that define the recognisable outline of a character or prop usually matter more than small details on a flat surface. Surface details can often be represented through textures or normal maps instead of additional geometry.
Developers should also remove geometry that will never be visible. The hidden underside of a building, internal faces inside a sealed prop, or heavily detailed surfaces permanently facing away from the camera may add cost without improving the player’s experience.
After remeshing or simplifying a model, inspect:
- The outer silhouette
- Curved areas and hard edges
- Deformation zones on animated assets
- UV layout and texture appearance
- Shading and normal direction
- Open edges or overlapping faces
Automated reduction can shorten the process, but it should always be followed by a visual and technical review.
Keep Textures and Materials Mobile-Friendly
Geometry is only one part of mobile performance. Large textures and complex materials can consume memory quickly, especially when many different assets appear in the same scene.
Choose texture resolution according to the object’s size on screen. A major character may justify more detail than a prop that appears briefly in the background. Using maximum-resolution textures for every asset increases application size and memory use without guaranteeing a visible improvement.
Material count matters as well. A model divided into many materials may require additional rendering operations. Where appropriate, compatible textures can be combined into an atlas and unnecessary materials can be removed.
Developers should check whether every supplied texture map is actually needed. A complex physically based material may look good on a workstation, but the mobile version might achieve an acceptable result with a simpler shader and fewer maps.
Compression settings should be tested on real devices because aggressive compression can introduce colour banding, blurry details, or visible artefacts.
Create Levels of Detail for Repeated or Distant Assets
Levels of detail, commonly called LODs, allow a game to display simpler versions of a model as it moves farther from the camera.
This is particularly useful for characters, buildings, vegetation, and props that may appear repeatedly. The highest-detail model should be reserved for situations in which the player can see that detail. At greater distances, reduced versions can preserve the overall silhouette while lowering rendering cost.
LOD transitions should be tested from the game camera. If the change happens too close to the player or alters the silhouette too sharply, the model may visibly “pop” between versions.
Not every small asset needs an elaborate LOD chain. The decision should be based on screen size, repetition, scene complexity, and profiling results rather than applying the same rule to every object.
What Should You Check After Importing the Asset Into a Game Engine?
Before approving an image-to-3D asset, import it into the engine used by the project. A model should not be judged only in the tool that created it.
Confirm that:
- The scale and orientation are correct
- The pivot is placed appropriately
- Materials and textures are assigned correctly
- Normals display as expected
- Collision geometry suits the object
- Animated parts deform correctly
- LOD switching works from the intended camera
- File names and folder locations follow the project structure
Collision deserves separate attention. Using a complex visual mesh as a collider can create unnecessary processing costs. Many props can use simple boxes, capsules, or custom low-detail collision shapes.
For animated characters, test the skeleton, joint weights, animation range, and movement in the actual game. A model that holds a static pose correctly may still deform poorly at the shoulders, hands, knees, or face.
Profile on Representative Android Devices
The final decision should come from real performance data.
Test the asset in a representative scene rather than an empty viewer. Include the expected number of characters, props, lights, effects, and interface elements. Monitor frame rate, memory use, loading behaviour, temperature, and visual quality across more than one Android device tier.
If performance is poor, do not assume the polygon count is the only cause. The issue may come from texture memory, material complexity, transparency, excessive draw calls, animation, lighting, or collision.
This is why mobile optimisation is best treated as a complete system. An efficient model can still perform badly inside an inefficient scene, while a slightly more detailed model may be acceptable if its textures, materials, and reuse are managed carefully.
When Is an AI-Generated 3D Asset Ready for Android?
image-to-3D assets can help Android developers move from concept art to an interactive prototype sooner. They are useful for testing visual directions, filling temporary scenes, and creating base models that artists can refine.
However, “generated” and “ready for mobile” are not the same status. A usable Android asset must satisfy the game’s own requirements for shape, topology, texture memory, materials, animation, collision, LODs, and performance.
The most reliable workflow combines AI-assisted generation with deliberate technical review. Generate the starting point quickly, but let the target device, game camera, and performance budget determine when the asset is truly finished.
FAQ
What is the ideal polygon or triangle count for an Android game asset?
There is no universal number. The correct budget depends on camera distance, how many objects appear on screen at once, the minimum target device, and real-world profiling results. A close-up hero character and a small background prop will have completely different acceptable ranges, so performance testing in a representative scene is the only reliable way to decide.